|
|
|
Here's how
to straighten & crop good scenes
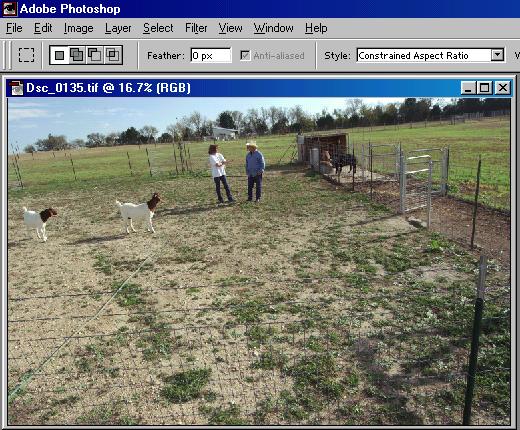
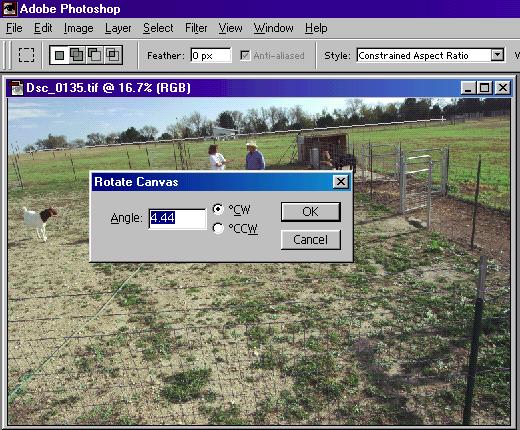
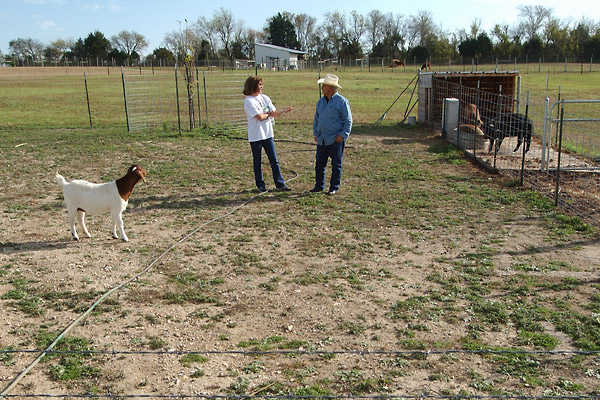
This picture,
top heavy and tilted to the left, was taken
while holding my D1X high above my head
(shooting blind). I frequently shoot this way
because it gives a different perspective than
the standard "pedestrian" view. I get lots of
bad shots mixed in with the good ones, but what
the heck... they're digital, so it's easy to
delete the really bad ones. More often than not,
there's a clean picture floating around
somewhere inside the borders. Objective:
Straighten the picture out and crop it to a
balanced looking scene First
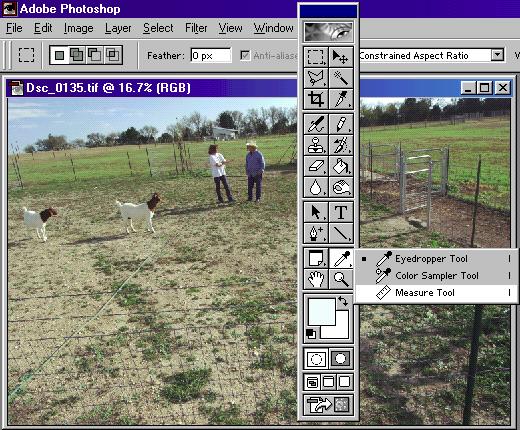
Stage: Straighten the picture out.
There are a few ways to do this, here's
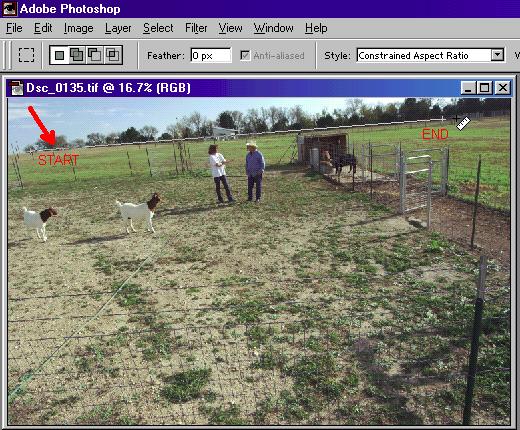
my Drag
the Measure Tool cursor across the
desired "level line". It will hold
& leave a trail Click
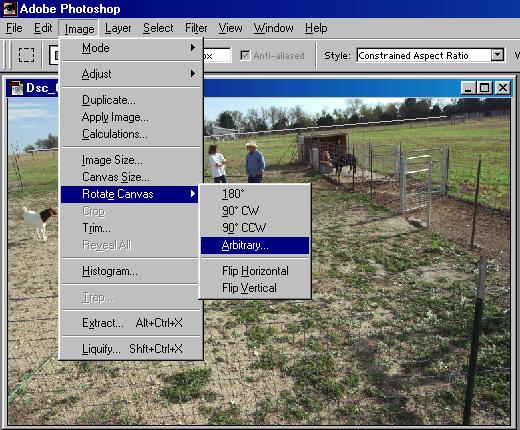
on "Image / Rotate Canvas /
Arbitrary..." The
"Rotate Canvas" box will appear
automatically showing the exact angle
you've drawn. Click
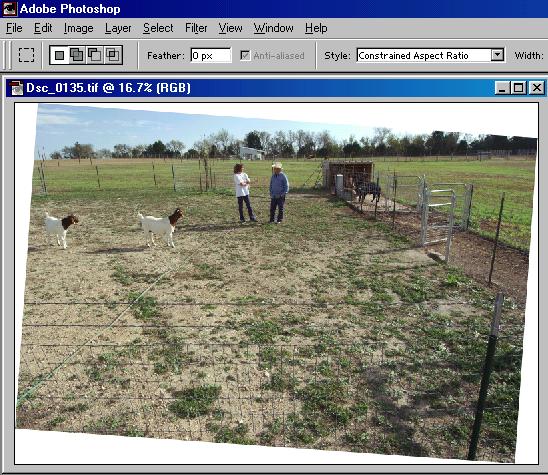
on the "OK" box, and the picture
will shift to your level line (and the
cursor line The
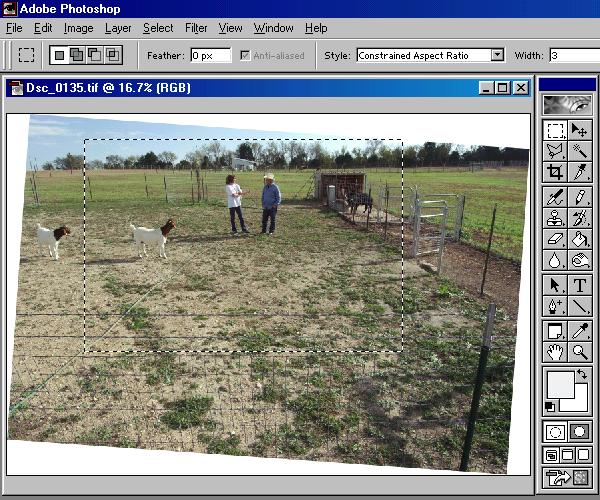
Second stage: Cropping time.
The
crop tool is selected by clicking on
the box at the top left of the main
toolbar. The cropping style, width, and
height options are now available. To
keep it simple, I usually choose
"constrained aspect ratio", which locks
in the proportions as I drag the cursor
over the area I want to crop. An entry
of "3" Width and "2" Height yields the
proportions for a standard 4" x 6"
print. After
you've selected the size of the area to
crop, click on the "Crop" command.
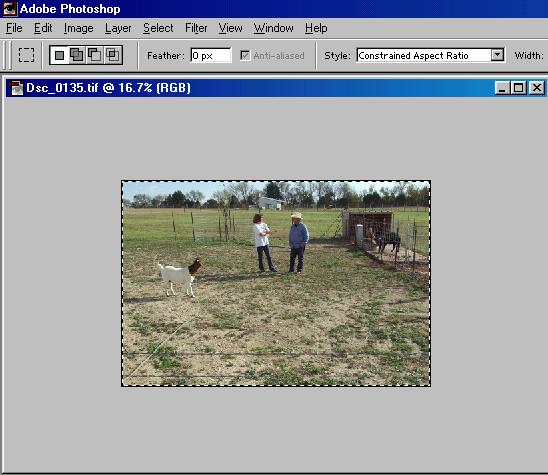
The area Here's
the crop: Presto! A straight
picture with straight
borders. Check
the size: Be sure you have enough
to work with. In this case, the crop
turned out Objective
achieved: A well balanced scene of
a couple of ranchers "talking shop"
about their livestock. And the 4"x 6"
print from the 1878 x 1252 pixel crop
turned out perfect. |